Haskap Propagation Made Easy
Are you looking to add some new plants to your garden but don’t want to spend much money buying them? Well, have you considered propagating your own plants? In this article, I’ll share my experience and knowledge of how to propagate haskap plants.
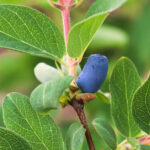
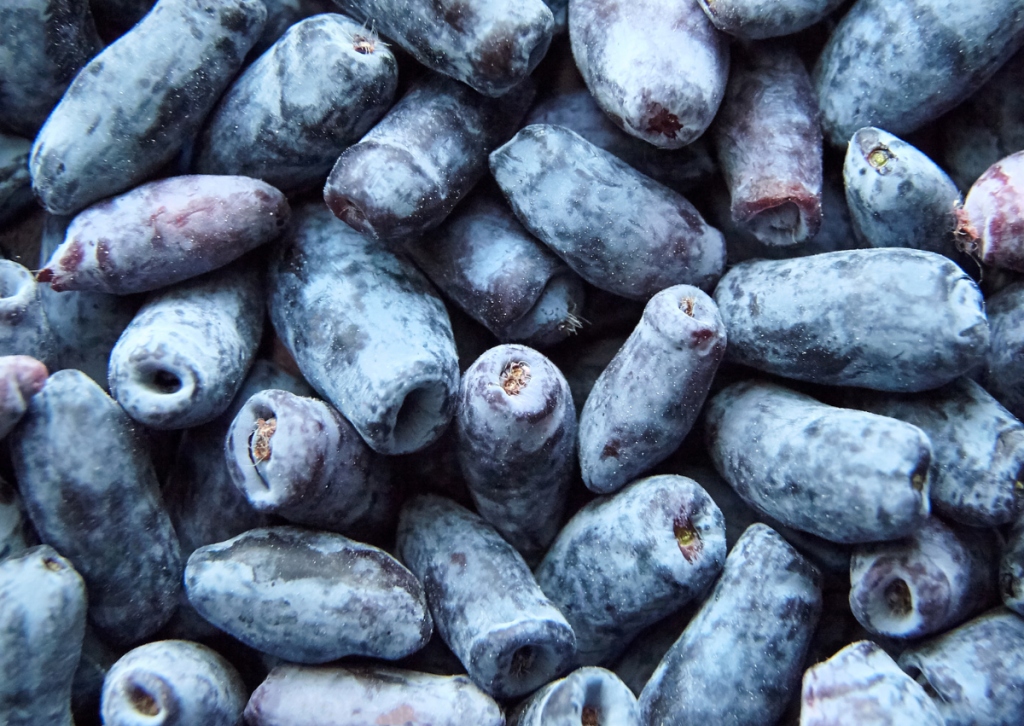
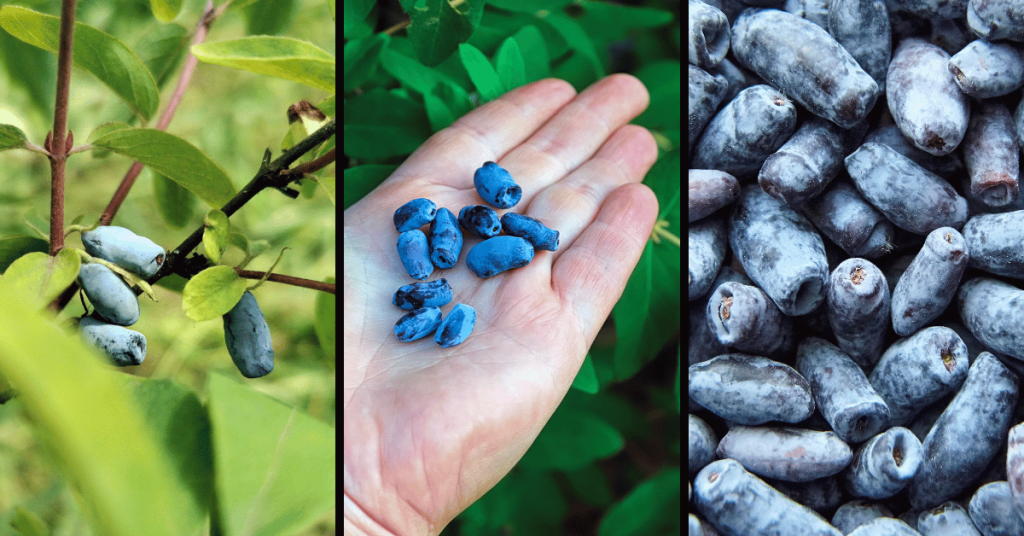
For those who may not be familiar, haskap plants are a type of berry that is native to Japan and has a unique flavor similar to a cross between a blueberry and a raspberry. They are also packed with antioxidants and have numerous health benefits.
I first started experimenting with haskap seeds in my garden in 2020, and since then, I’ve learned a lot about propagating and caring for these plants. In this article, I’ll be sharing with you the various methods of propagating haskap plants, including rooting cuttings and layering. I’ll also discuss the best time of year to propagate haskap plants and how to care for them during the propagation process.
So if you’re ready to learn how to propagate haskap plants and add some delicious, healthy fruits to your garden, keep reading!
Introduction to Haskap Propagation
Haskap plants, also known as “honeyberries,” (Lonicera caerulea L.) are a type of berry native to Japan that has a unique flavor similar to a cross between a blueberry and a raspberry. They are packed with antioxidants and have numerous health benefits. Some of the benefits of consuming haskap berries include:
- Improved heart health: Haskap berries contain high levels of anthocyanins, which are potent antioxidants that have been shown to improve heart health by reducing inflammation and protecting against heart disease.
- Boosted immune system: Haskap berries are rich in vitamins C and E, which are essential for maintaining a strong immune system.
- Improved brain function: Haskap berries contain high levels of flavonoids, which have been shown to improve cognitive function and reduce the risk of developing neurodegenerative diseases such as Alzheimer’s.
- Weight loss: Haskap berries are low in calories and high in fiber, making them a great addition to a weight loss diet.
Not only are haskap berries delicious and healthy to eat, but they are also easy to grow in a home garden. In this article, we will be discussing the various methods of propagating haskap plants and how to care for them during the propagation process. By the end of this article, you’ll be well on your way to expanding your garden and enjoying the delicious and healthy fruits of your own haskap plants.
Rooting Cuttings vs Layering: Choose Your Propagation Method
There are several methods of propagating haskap plants, each with its own set of advantages and challenges. In this section, we will discuss the most common methods of propagating haskap plants and provide an overview of the steps involved in each method.
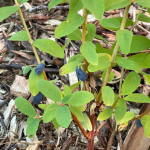
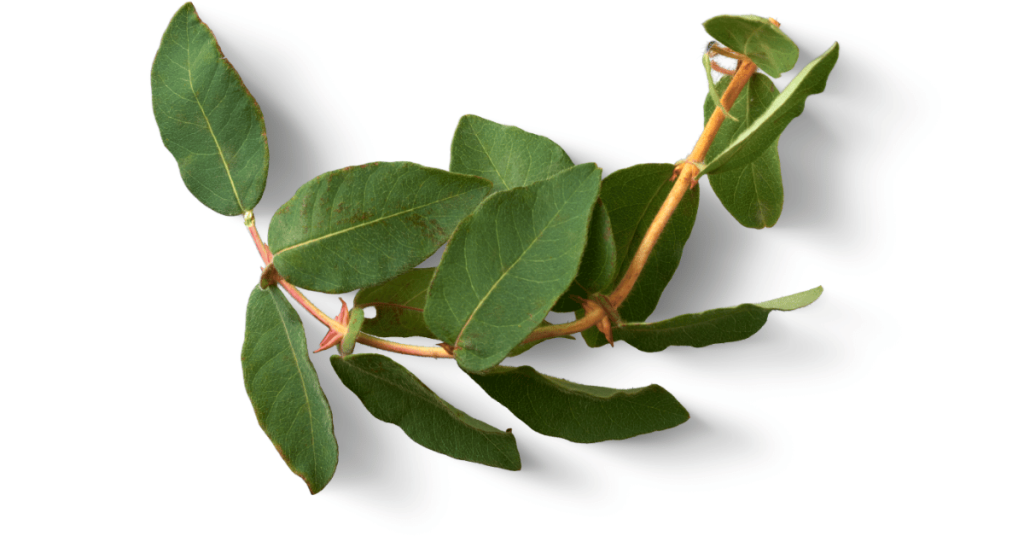
Rooting Cuttings: One way to propagate haskap plants is by rooting cuttings. This involves taking a cutting from a mature haskap plant and encouraging it to grow roots and become a new plant. To root haskap cuttings, you will need to choose a healthy, non-flowering stem and cut it into sections about 4-6 inches long (10-15cm). These cuttings should be placed in a rooting medium such as perlite or vermiculite and kept moist until roots begin to form. Once the cuttings have rooted, they can be transplanted into pots or your garden.
- Choose a healthy, non-flowering stem
- Cut the stem into 4-6 inch sections (10-15cm)
- Place the cuttings in a rooting medium and keep moist
- Transplant the rooted cuttings into pots or your garden once they have rooted
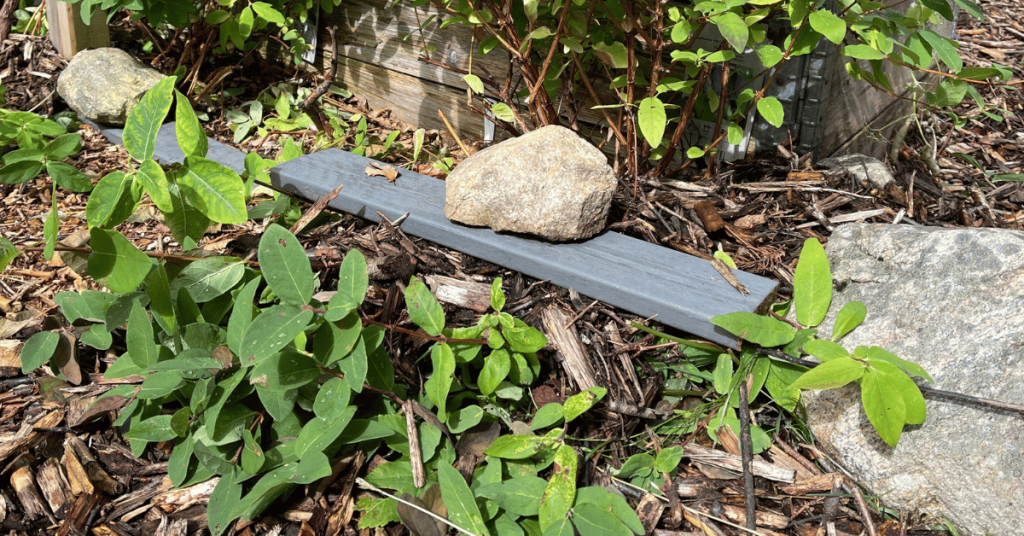
Layering: Another method of propagating haskap plants is through layering. This involves encouraging a stem from a mature haskap plant to grow roots while it is still attached to the parent plant. To do this, you should choose a healthy, non-flowering stem and bend it down to the ground. Next, you will need to make a shallow trench in the soil next to the stem and cover it with soil, leaving the top few inches exposed. As the stem grows roots, it can be cut from the parent plant and transplanted into your garden.
- Choose a healthy, non-flowering stem
- Bend the stem down to the ground and make a shallow trench in the soil next to it
- Cover the stem with soil, leaving the top few inches exposed
- As the stem grows roots, cut it from the parent plant and transplant it into your garden
No matter which method you choose, it is important to keep the propagated haskap plants well-watered and in a location with plenty of sunlight during the rooting process. In the next section, we will go into more detail on how to propagate haskap plants using rooting cuttings and layering.
How to Propagate Haskap Plants Using Rooting Cuttings
Step-by-Step Instructions on How to Root Haskap Cuttings:
- Choose a healthy, non-flowering stem from a mature haskap plant. The stem should be at least 4-6 inches (10-15cm) long and free of pests or diseases.
- Using a sharp pair of scissors or pruning shears, cut the stem into sections that are 4-6 inches long. Make sure to remove any leaves or flowers from the cuttings.
- Fill a small pot or tray with a rooting medium such as perlite or vermiculite. Water the rooting medium until it is evenly moist, but don’t overdo it.
- Dip the cut end of each cutting into rooting hormone, if desired. This is not necessary but can help to encourage rooting.
- Plant the cuttings into the rooting medium, making sure to leave enough space between them for proper air circulation.
- Cover the cuttings with a clear plastic bag or dome to create a humid environment. This will help keep the cuttings moist and prevent them from drying.
- Place the cuttings in a location with indirect sunlight and maintain a consistent temperature between 70-75 degrees Fahrenheit (20-24°C).
- Check the cuttings regularly and water as needed to keep the rooting medium evenly moist. After 4-6 weeks, the cuttings should have formed roots and be ready to transplant.
How to Care for the Cuttings During the Rooting Process:
- Keep the rooting medium evenly moist, but not soggy.
- Cover the cuttings with a clear plastic bag or dome to create a humid environment.
- Place the cuttings in a location with indirect sunlight and maintain a consistent temperature of around 70-75 degrees Fahrenheit (20-24°C).
- Check the cuttings regularly and water as needed to keep the rooting medium evenly moist.
- Once the cuttings have rooted, they can be transplanted into pots or your garden. Be sure to acclimate them to their new environment by gradually increasing their exposure to sunlight and outdoor conditions before transplanting them into the ground.
How to Propagate Haskap Plants Using Layering
Step-by-Step Instructions on How to Propagate Haskap Plants Through Layering:
- Choose a healthy, non-flowering stem from a mature haskap plant. The stem should be at least 4-6 inches long (10-15cm) and free of pests or diseases.
- Bend the stem down to the ground and make a shallow trench in the soil next to it.
- Cover the stem with soil, leaving the top part exposed.
- Secure the stem in place using a stake or clip if necessary.
- Water the soil around the stem to moisten it and encourage rooting.
- As the stem grows roots, it can be cut from the parent plant and transplanted into your garden. This typically takes 4-6 weeks, but may take longer depending on the conditions.
How to Care for the Layering During the Rooting Process:
- Water the soil around the stem regularly to keep it moist and encourage rooting.
- Secure the stem in place using a stake or clip if necessary.
- Check the stem regularly to check if roots are forming and remove any flowers or fruit that may appear.
- Once the stem has grown roots, it can be cut from the parent plant and transplanted into your garden. Be sure to acclimate it to its new environment by gradually increasing its exposure to sunlight and outdoor conditions before transplanting it into the ground.
I would try to do this early in the spring before the plant has woken up from dormancy, but only if roots have formed. If there are no roots, I’ll wait until later in the season.
Takeaways from Our Haskap Propagation Guide
In my experience, layering has been by far the easiest method for me. It requires minimal effort and allows me to propagate new plants while the parent plant is still growing.
However, I also understand that not everyone has access to a wide variety of haskap plants to choose from. In this case, rooting cuttings may be a more suitable method. This involves taking a cutting from a mature haskap plant and encouraging it to grow roots and become a new plant. While this method does require a bit more care and attention during the rooting process, it can be a great way to expand your garden and try out new varieties of haskap plants.
Overall, both layering and rooting cuttings can be effective methods for propagating haskap plants. It ultimately comes down to personal preference and the resources and plants available to you.